How to install your spare tyre cover.
Installing your custom vinyl spare tyre cover is quite simple. However, as your tyre cover is custom sized to suit your specific tyre, it will have a fairly snug fit. To avoid any problems and to achieve the best look for your cover we recommend following the simple instructions below. These steps will allow you to install your tyre cover without any damage and with a nice smooth finish to enhance your vehicle look.
- Line the cover and stretch the elastic over the tread until about the half way point. Do not put the elastic over the back of the tyre yet, align it about half way across the tread of the tyre.
- Stand back and look at the cover design and adjust the angle if it is not straight. This is the easiest time to make sure it is straight. It is very hard once the cover is fully installed.
- Once your design is in the desired position, pull the elastic slowly and evenly around the tyre until it completely wraps over the tread of the spare tyre.
- Once it is on, gently pull and stretch the cover until a fairly smooth finish is achieved.
- As the vinyl is new it will expand and shrink over the first week or two. This is the best time to continue making gentle adjustments and your spare tyre cover will end up having a nice flat finish that will showcase your design.
IMPORTANT: When installing don't put the top elastic all the way over to the back of the tread and then try to pull the bottom elastic to cover the tread. This will cause more stress on the cover than is necessary and can damage your wheel cover. As your spare tyre cover is custom sized to suit your tyre it will be a fairly snug fit.
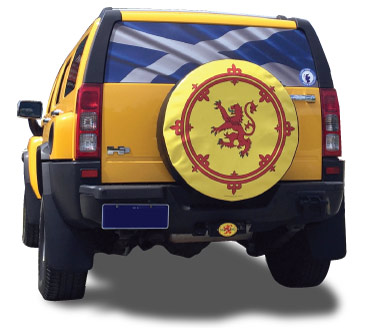
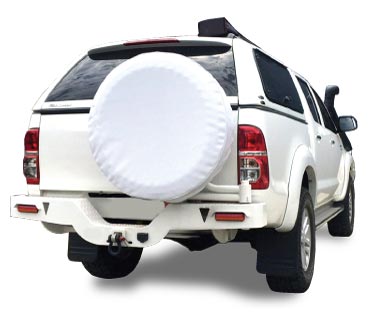
The images shown are brand new spare tyre covers, just installed. Notice the perfect fit and smooth finish that only a custom sized wheel cover will give. After a week or so these will improve even more so it becomes a very smooth look on your spare tyre.

